Using WP ERP Reimbursement
WP ERP Reimbursement extension helps you to account for the expenses made by the employees easy and offers a better way to manage.
In this documentation of the feature, we will cover –
- What Reimbursement is
- Reimbursement Dashboard
- How to create a new reimbursement
- How to complete a new payment
- Different status of the payments
What is Reimbursement
Reimbursement is a handy add-on for your business that helps you to pay the expenses of your employees easily. It is fully compatible with WP ERP. It also perfectly integrates with WPERP’s Accounting module.
Reimbursement Dashboard
After installing and activating the ERP Reimbursement add-on, navigate to-
WP Dashboard → Accounting → Reimbursement
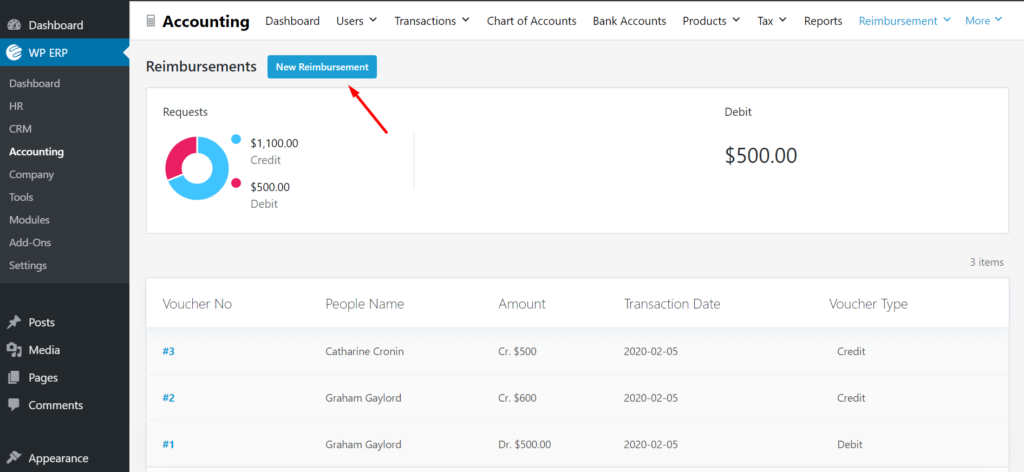
You will find the Dashboard of Reimbursement add-on.

Creating a New Reimbursement
ERP Reimbursement offers both your employee and the admin of the ERP system to create new receipts. In this section, we will demonstrate how both types of users can create a new receipt.
You as an Admin
- Click on the New Reimbursement button located at the top of the dashboard.
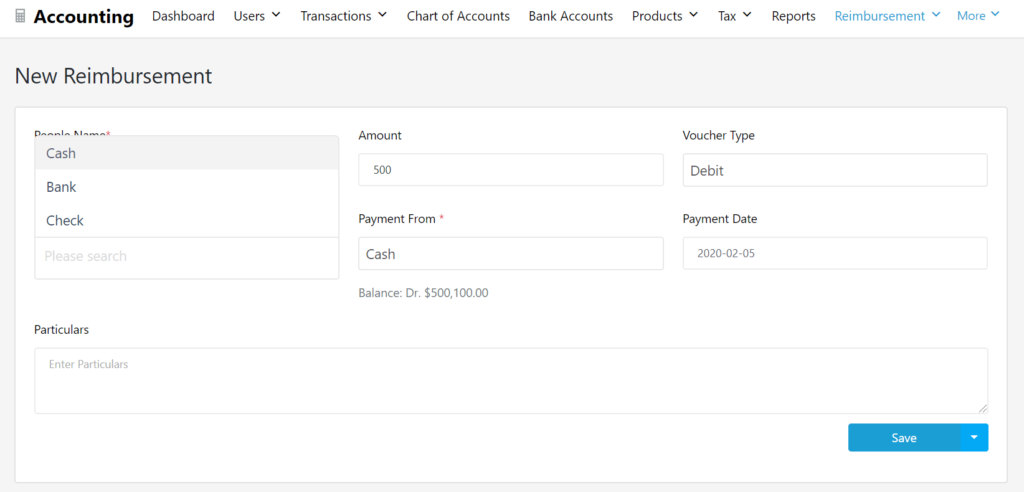
It will redirect you to the New Reimbursement creation page. You will get the list of your employees from the HRM module.
- Click on the Receipt From dropdown button and the list will appear.

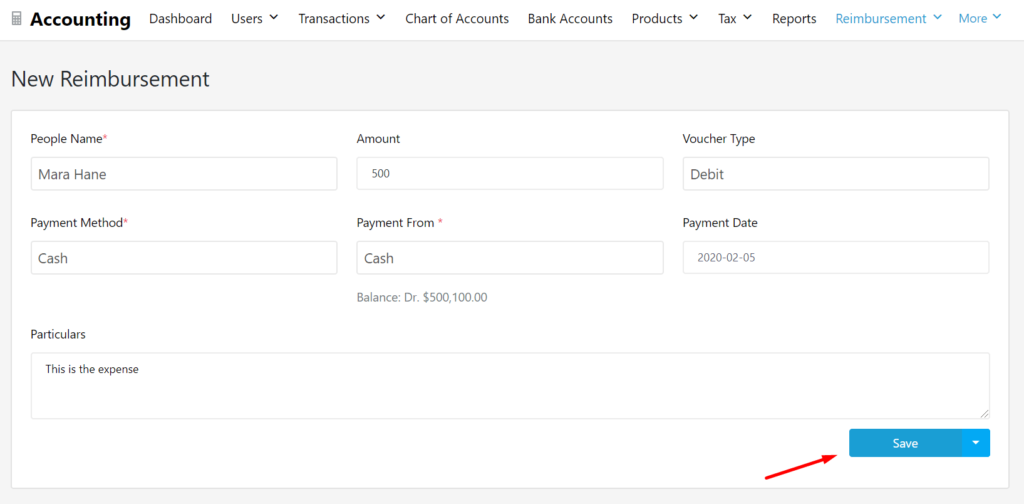
- Now, select the Payment Method, Account Name and Payment Date.
- Then, hit the Save button to finish creating Reimbursement.
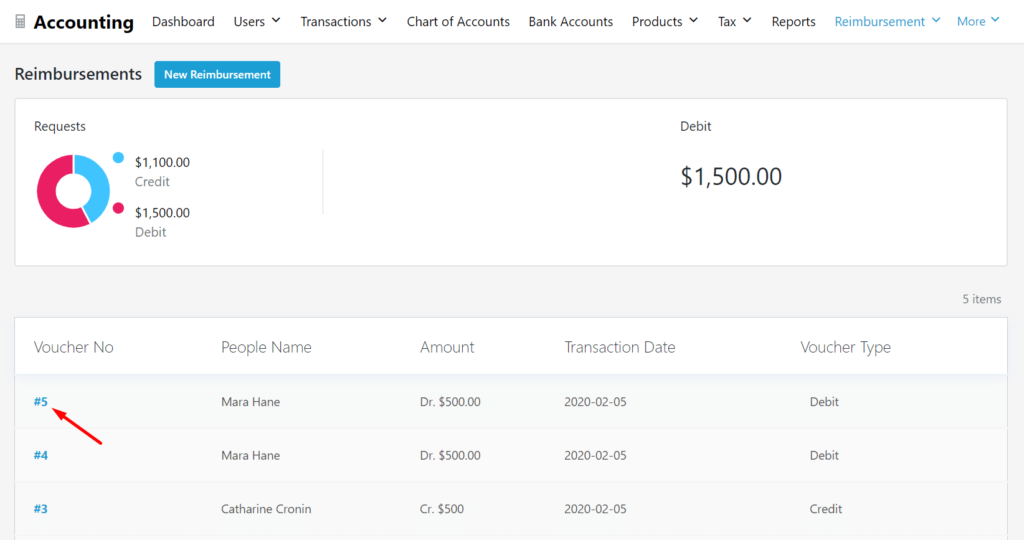
It will create an Invoice. To view the Invoice,
- go back to the Reimbursement dashboard and click on the Voucher No.
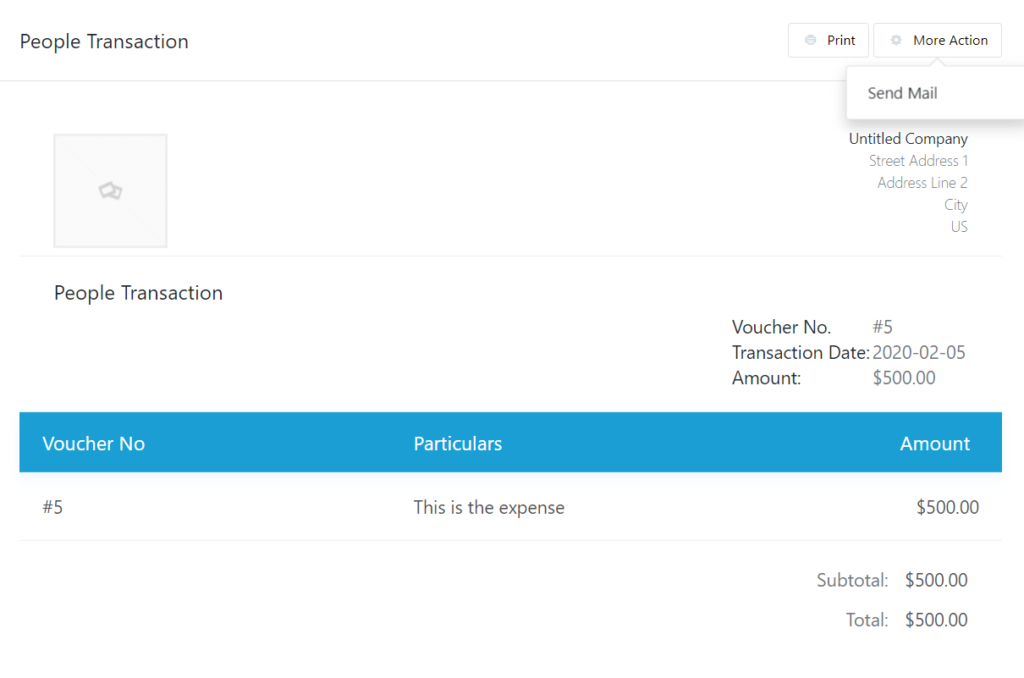
Now, you can view the Invoice for the Reimbursement. If you want you can send an email to the employee. Just click on the More Actions button. you will find the option to Send Email.
You as an Employee
Employees also can create Reimbursement requests. To do that,
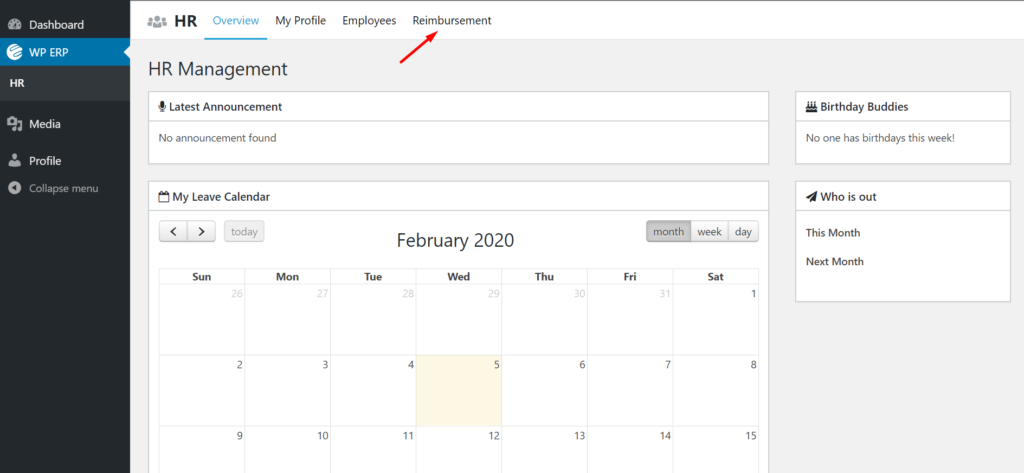
- log in to your WP Dashboard and click on the Reimbursement under HR Management.
You will be redirected to your Reimbursement Dashboard.
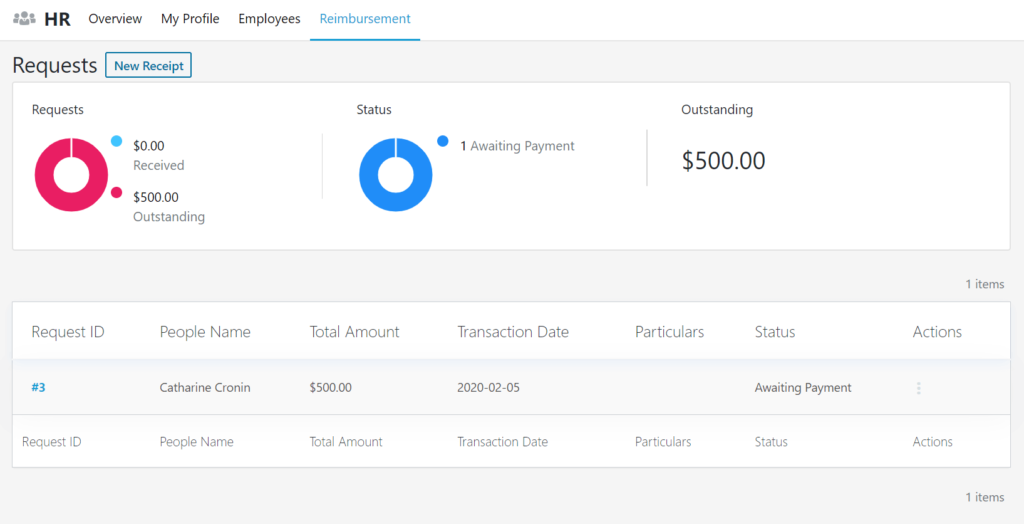
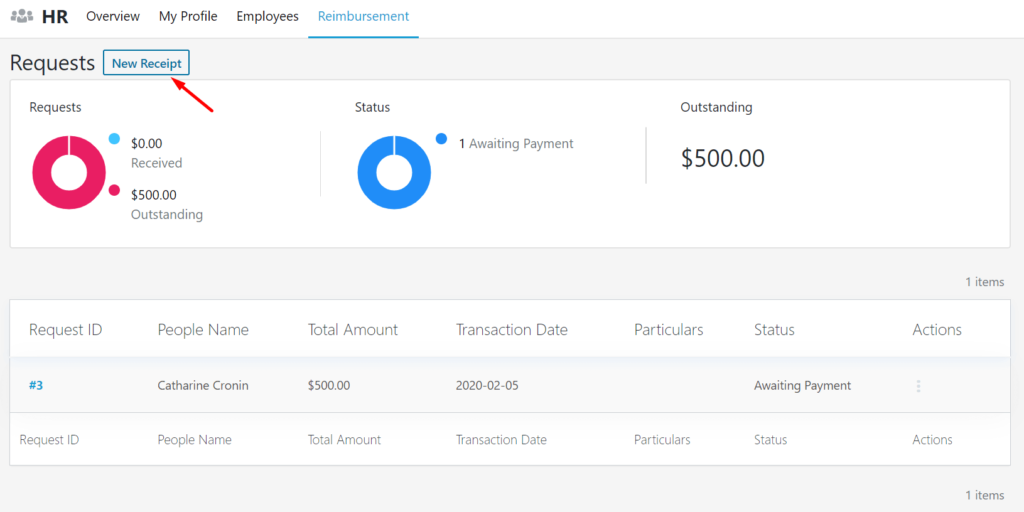
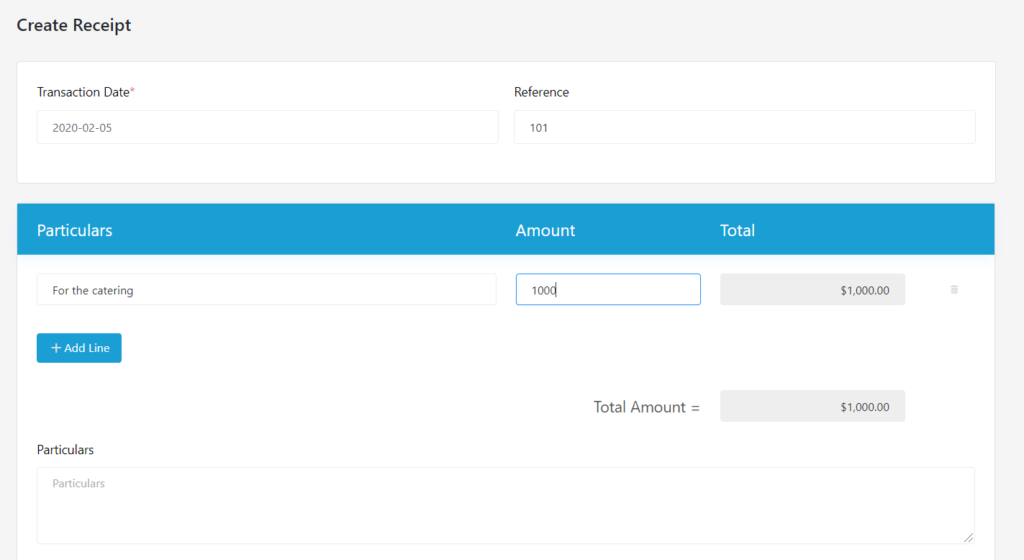
- Now, click on the New Receipt button to create a new reimbursement receipt.
Then, provide all the necessary information required. You can add Date, Reference Number, Amount.
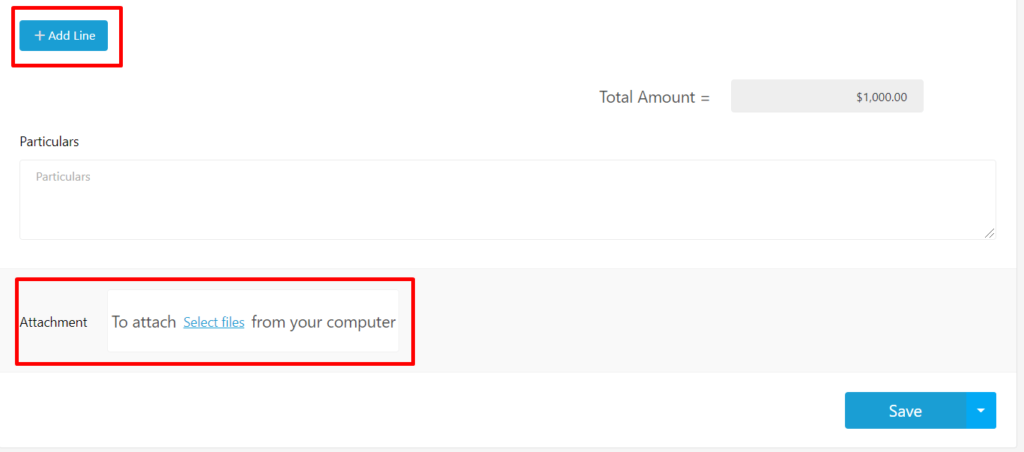
Also, you can add an extra line if you have more reimbursement payments. Just click on the Add Line button. Also, you can attach any documents if required. For that,
- click on the Select Files button. Hit the Save button to finish.
An Invoice will be created. To view the invoice,
- go back to your Reimbursement dashboard. Then click on the Request Id No.
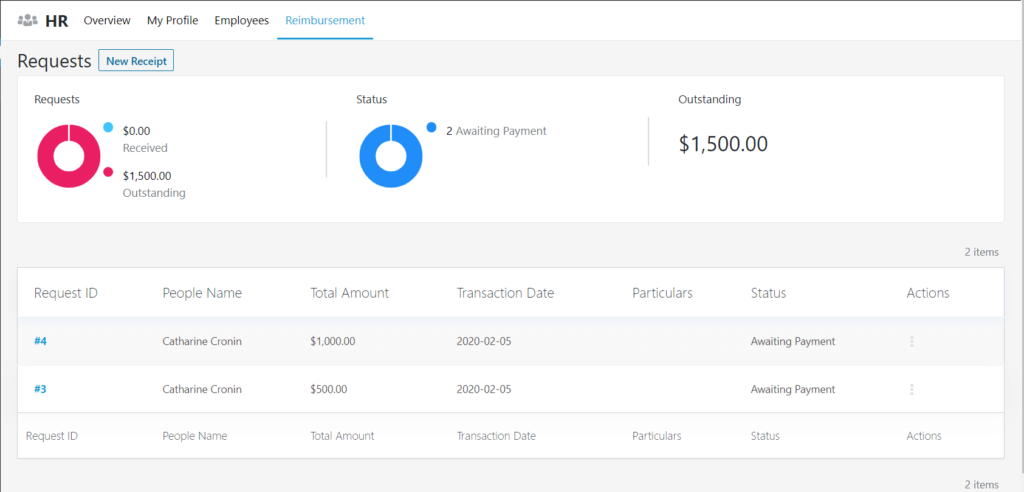
You will be redirected to the Invoice page.
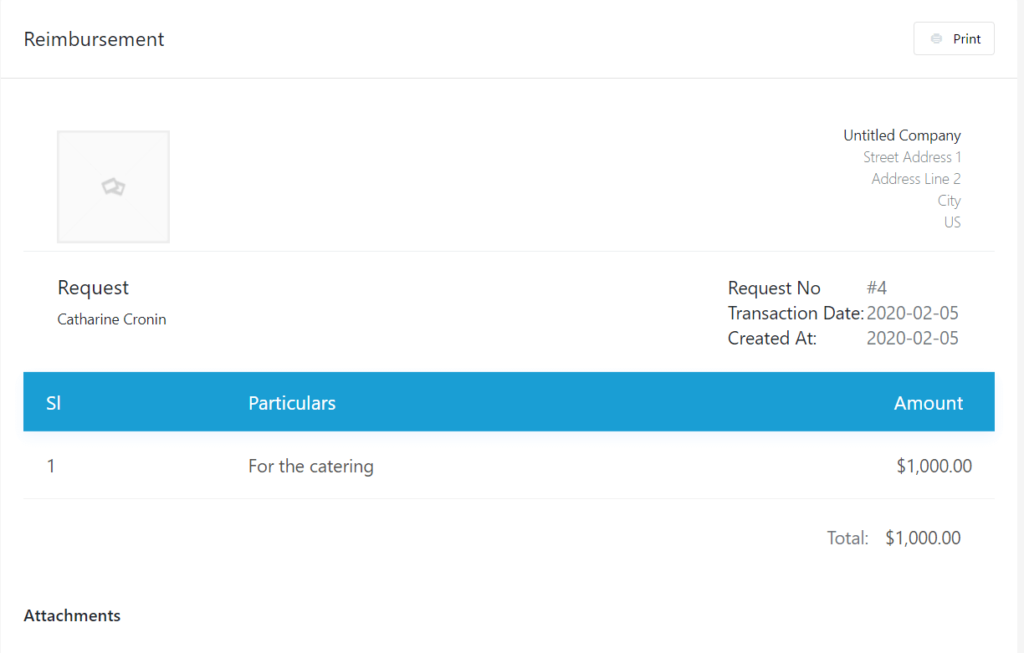
You can view the complete transactions.
Approving a Receipt and Completing Payment
Now, to accept the Reimbursement request the admin need to navigate to the Reimbursement Dashboard. Then, click on the Request button.
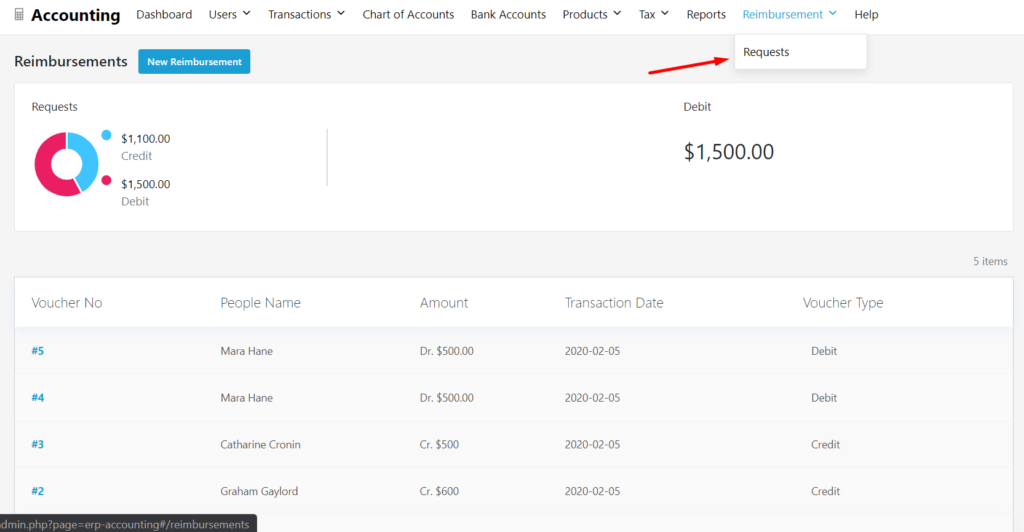
You will be redirected to the Requests dashboard. There you can either click on the Voucher No or the Three Vertically Aligned Dots and click on View.
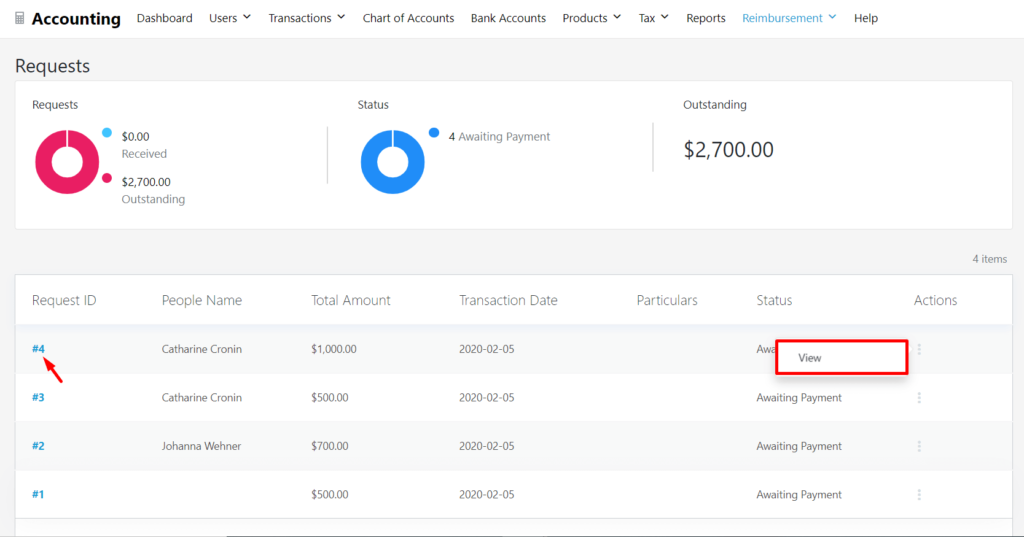
You will be redirected to the Invoice page. You can view the whole transaction. To complete the transaction, click on the Pay Now button.

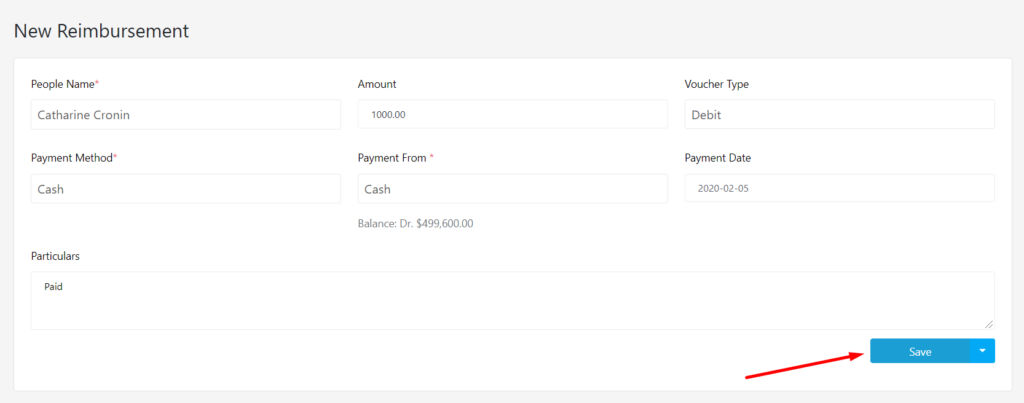
When you hit the Pay Now button, you will see the New Reimbursement page. There you need to add the Payment Method, Payment Account, Payment Date. Lastly, hit the Save button to finish.
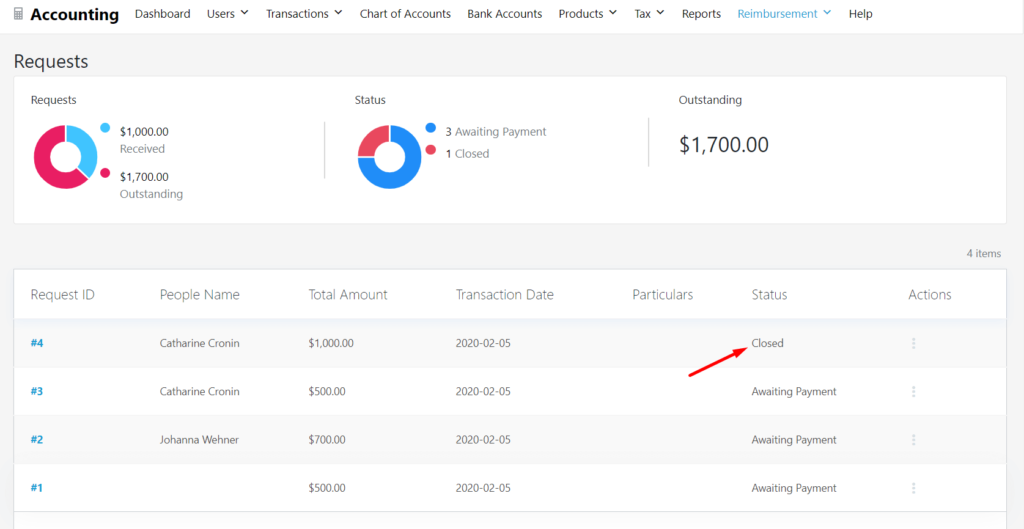
To make sure if the payment is done successfully or not, go back to the Reimbursement dashboard. You will notice that the payment reads Closed. That means the Reimbursement is completed.
Note: If you somehow make a mistake or give extra money for Reimbursement, then there is a way to rectify this mistake. All you have to do is create a New Reimbursement but this time the Voucher Type will be Credit. Lastly, enter the extra amount and the trial balance will even out.
That is all for the WP ERP Reimbursement plugin.